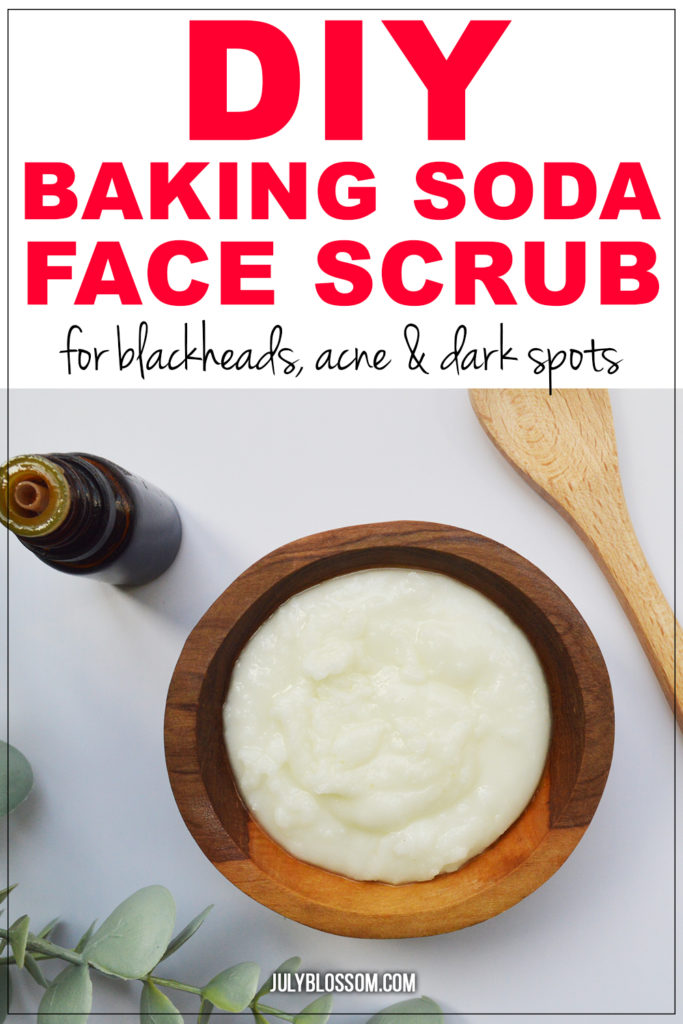
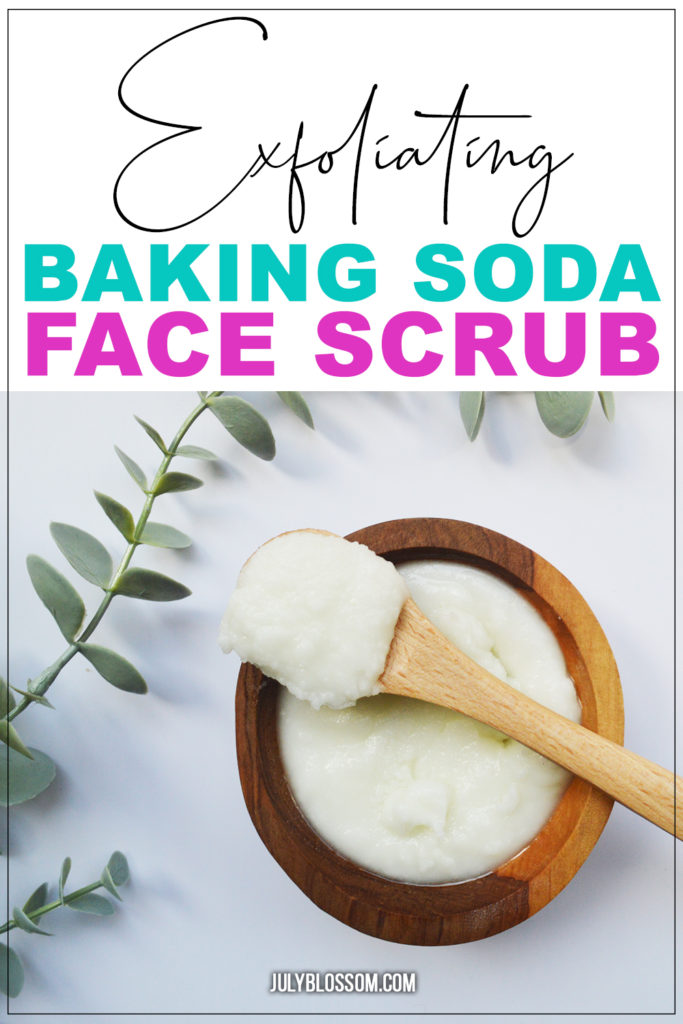
This DIY baking soda scrub is something you must add to your natural skin care regimen, if you want flawless skin!

6 Benefits of this DIY Baking Soda Scrub for your Skin
1. Gently Exfoliates Skin
Baking soda has a slight coarse texture that is mild enough to act as a perfect exfoliator.
By gently massaging it on your wet skin, it helps remove the top layer of dead skin cells, without irritating your skin.
2. Purifies Pores
What I love most about baking soda is it really deep cleanses your pores from deep within!
All the grime and gunk stuff within your pores that may build up and become pimples, blackheads or whiteheads is pushed out and cleansed from your skin.
3. Removes Blackheads & Whiteheads
For those with blackheads and whiteheads, baking soda helps soften skin pores, which enables the blackheads to come out. Whiteheads can also be softened and got rid of with a gentle baking soda scrub.
4. Treats & Prevents Razor Bumps
The soft exfoliating action of this baking soda scrub helps prevent and get rid of any shaving bumps.
Using this baking soda scrub can also prevent ingrown hairs from cropping up, provided you follow other tips for ingrown hairs such as using a sharp razor and shaving in the direction of hair growth.
5. Reduces Oily Skin
This baking soda scrub’s astringent, skin pH balancing and moisturizing properties help keep the skin at the right amount of suppleness, removing excess oils and dryness.
6. Gets Rid of Blemishes
Dark spots and blemishes can be lightened using this baking soda scrub which helps slough off dead cells at the top layer of the skin. This allows renewed soft skin from underneath the blemish to be revealed.
DIY Baking Soda Scrub

What you need
- 2 tablespoons of baking soda (where to get it)
- 1-2 tablespoons of coconut oil (where to get it)
- 3 drops of tea tree essential oil (where to get it)
- 3 drops of lemon essential oil (where to get it)
- Airtight storage container (where to get it)
Directions
- In a small bowl, whisk all ingredients together till well-combined.
- The DIY baking soda scrub is ready for use!
- Scoop it into a clean airtight storage container for future use.
- It stores for a couple of months but make sure not to get a single drop of water into it because this will make it spoil faster. Don’t store it in the fridge because the coconut oil will harden it so it’s recommended to keep it in a dry and dark place at room temperature instead.
How to Use this DIY Baking Soda Scrub
- Prep your skin for this baking soda scrub by cleansing it thoroughly, as you usually do.
- Use hot or warm water so that your skin is soft and the baking soda can work its magic easier.
- Now that your face is clean, apply a suitable amount of the baking soda scrub to wet skin. You can choose the areas you want to apply it on – the face, targeted areas like where you are going to shave or even the entire body.
- Massage the scrub on your skin for about 1-2 minutes to get exfoliating process going.
- Rinse off well with warm water.
- Splash your face with cold water and pat it dry with a soft towel.
- Moisturize as usual.
Take Care
- Make sure to do a patch test to make sure your skin does not have an adverse reaction to any of the ingredients used in the DIY baking soda scrub. The inner elbow or inner wrist is the recommended place to do a test since skin here is delicate and sensitive, just like the facial skin.
- Since this scrub uses lemon essential oil which is photosensitive, do not apply this scrub and then show your skin to sunlight. Lemon essential oil reacts to sunlight. It may irritate your skin. If you are going to be outdoors, you may want to use this face scrub at night.
- Keep the scrub away from children and pets.
I’m excited for you to try this DIY baking soda scrub and come share your results in the comments!
Leave a Reply