Learn how to make an easy DIY Vitamin C serum that works!

You might want to make your own vitamin C serum because your skin gets irritated with store-bought Vitamin C serums, you can control what goes into it, you can know when it’s oxidized so you can stop using it and it’s cheaper!
Do you know many store-bought Vitamin C products use added colors to mask the real color when the Vitamin C oxidizes? Yuck.
Besides, you can never know what synthetic chemicals and preservatives they have added inside which makes me feel apprehensive.
Seriously, I’d rather not apply anything on my face than use a chemical-laden serum. I don’t know if anyone can relate…
Anyway, Vitamin C is amazing for your skin, I won’t go into too many details but it boosts collagen production which makes your skin look youthful, soft, taut and supple.
Without further ado, let’s get straight onto the DIY Vitamin C serum recipe:
DIY Vitamin C Serum

Tools
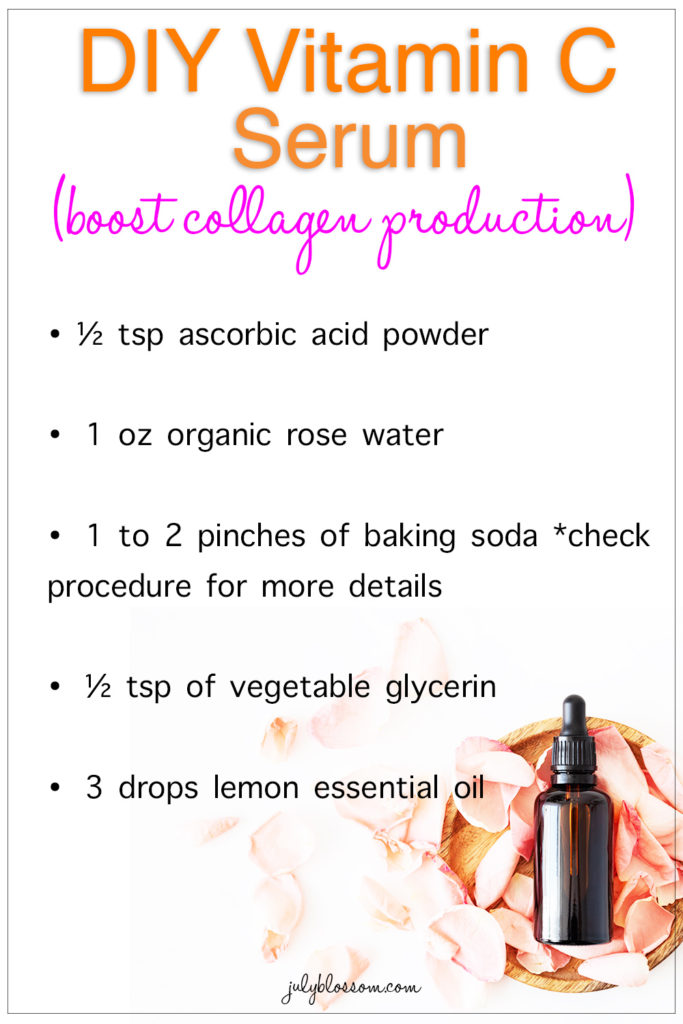
- ½ tsp ascorbic acid powder
- 1 oz organic rose water or distilled water
- A few pinches of baking soda *check procedure for more details
- ½ tsp of vegetable glycerin
- 3 drops lemon essential oil
- Amber glass dropper bottle for storage
- Small funnel to transfer ingredients
- pH strips
- Gloves
Procedure
- Begin by cleaning your storage container which should be an amber glass dropper bottle. Warsh it properly with warm water and soap, followed by rubbing alcohol then a few rinses of distilled water. Let it dry completely under the sun.
- Now use a tiny funnel, transfer ½ tsp of ascorbic acid into your dry amber glass dropper bottle.
- Add a little organic rosewater into the bottle then close it up and tilt it up and down to thoroughly dissolve the ascorbic powder into your rose water.
- Once this is done, add ½ tsp of vegetable glycerin and 3 drops of lemon essential oil.
- Top it off with the remaining amount of rose water and tilt your bottle up and down again to combine the ingredients.
- Next, you have to add baking soda so you can get the right pH of a good Vitamin C serum.
- Start with adding just a pinch into your amber dropper bottle. Mix well then test the pH of your almost-ready Vitamin C serum on the pH strip. The colors on the pH strip will guide you – ideally the pH of your serum should be between pH 4 and pH 5 because the skin is slightly acidic. Some DIY recipes say between pH 3 to pH 4. The lower the pH the more acidic and the higher the pH the more alkaline and less acidic.
- To balance the pH and make it increase, add more baking soda (a pinch at a time so you don’t have to make it more than pH 4).
- Once you’ve reached the correct pH, replace the cap on your bottle and voila! You have your very own DIY Vitamin C serum!
- This is a must – store it in a very dark place like your drawer. You can also store it in the refrigerator to preserve its freshness. If stored in the fridge it’ll last you more than a week.
DIY Vitamin C Serum FAQs
How Long will this DIY Vitamin Serum Last?
It will last 7 days. After which, it may start to oxidize and turn yellow/brown. By this time, you’ll have finished using it anyway if you’re using it every night!
Do I Need to Add any Preservative?
Nope! Since this is a 7 day-use product, you absolutely do not have to use a preservative. And the pH will be stable enough that bacteria will not grow.
Furthermore, you are using pure ingredients like 100% pure rose water and essential oils that will stave off any bacteria or free radicals – at least for a week before the ascorbic acid starts to break down and oxidize.
When Should I Apply this DIY Vitamin C Serum?
At NIGHT time.
First off, Vitamin C products are photosensitive. That means they react to sun exposure and can cause irritation or burning sensations on your skin, if it is applied then the skin is directly exposed to sun light.
Besides, it also contains lemon essential which shouldn’t be applied on skin that is going to be exposed to sunlight.
How Should I Apply this DIY Vitamin C Serum?
Start on a clean and dry face, after you wash your face before bed or after your night time shower.
Place a few drops of your Vitamin C serum on your palms, rub then together then dab gently all over your face and neck.
You can also use a cotton ball instead of your hands.
Wash your hands and then apply your night cream.
Then get some beauty sleep!
Caution
As with any product, first do a patch test to see that you are not irritated by this DIY Vitamin C serum.
To do a patch test, apply it on your inner elbow and wait and watch the area for up to an hour for any signs of irritation.
If you do see irritation, perhaps you need to decrease the ascorbic acid amount to ¼ tsp or eliminate the lemon essential oil.
I hope you benefitted from this article. I can’t wait for you to make your own DIY Vitamin C Serum! Come and share your results in the comments below.
Leave a Reply